Webpack Your Things
We very recently finished migrating our front-end build process to Webpack. As with any reasonably sized codebase, it's always a little more complex than the 3 line examples in how-to guides. This post will list some of the higher-level things I learned during this undertaking, the next one in the Webpack Series will detail some specific quirks and solutions.
Resources
I was largely able to do this by leveraging the hard work of some clever heroes. This very conveniently timed blog post covered a lot of what was needed. JLongster also has some very good tips, helpful for more than just backend apps. Regarding documentation, the widely-cited Webpack How-to gives a pretty concise overview of most things you will need. And of course, the docs have a lot of information. Sometimes too much. But usually most things you need are listed there. Occasionally something isn't, which brings me to lesson one.
Lesson 1: cd node_modules
One of the biggest things I learned in this undertaking isn't limited just to Webpack, and helped fix a few other things. Previously I had treated the node_modules folder as a black box - just npm install and be on my way. This is fine for everyday usage, but when you hit barriers or bugs sometimes you need to do some digging. Rather than throwing random inputs at a black box to measure the effect, you can just crack it open.
A good example of this is the CommonsChunkPlugin, which is documented thusly:
“If omitted and options.async or options.children is set all chunks are used, elsewise options.filename is used as chunk name”
I found this sentence somewhat confusing, but easy to clarify by reading the code that checks this. If/else and some variable assignments and straightforward things to follow. And the nature of Webpack modules means they are generally quite small, if all else fails just console.log everything.
Note this doesn't necessarily mean you must always open the box and understand the internal implementation of libs you are using. But it is reassuring to know that you can.
Lesson 2: Use Tables
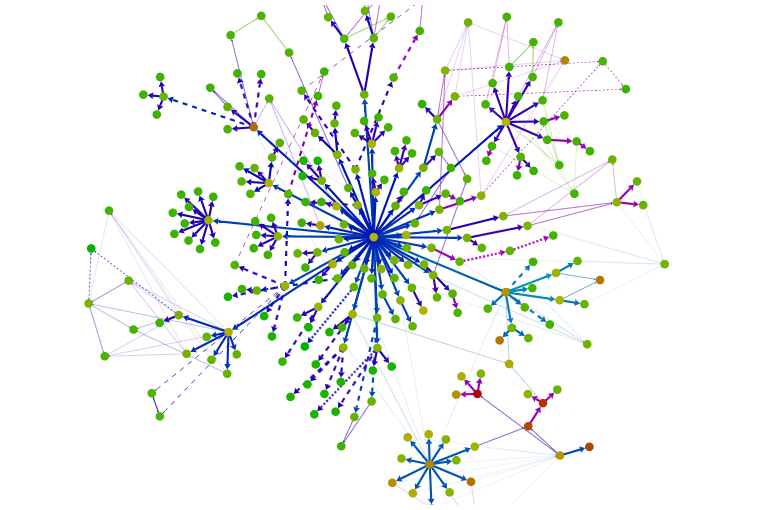
For visualising data, never for layout. The quite excellent webpack analyse tool provides a tonne of useful data to improve your module situation. The crazy tree-view animations look awesome, and are animated and zoomable. But they can quickly spiral out of control into a meaningless ball of branches. There are fortunately table views for all these pages as well. While repeatedly processing a bunch of lists to try minimising file sizes isn't the most romantic task, you can sort and group a lot more easily. Conversely, the Chunks tree view stays parseable for a longer time (as you will have fewer chunks than modules). It can give a quick overview if any of your chunks are ballooning out of control, and the accompanying table used for more automated analysis.
Lesson 3: Measuring Victory
As with any code change, the best measure of success is not breaking anything. In this case our ideal outcome was the change was completely invisible to end users, assuming everything deploys and the site still works. Beyond that it was meant to simplify frontend development for all of our devs, again a success. We have simple build & watch tasks without global Node package requirements (except npm). We were able to deploy our first React component by adding a single line to process JSX. So we don't (yet) have a quantifiable metric for the success of this adventure into the world of Webpack. But as someone who formerly complained about writing build tasks, it has been fun.
In the next post I will drill down into a few specific issues encountered and how they were fixed, and some other useful features and tricks. If you have any advice or thoughts, we'd love to work with you - careers.


